

This post was originally from designadobe.wordpress.com, a website created for a basics to WordPress and Joomla course at Chestnut Hill College, PA.
Some might not know this, but Adobe has many tools that are universal between the three main design programs: Illustrator, Photoshop, and InDesign. Even though they all handle different types of designs—Illustrator does vectors, Photoshop is photo editing and for some a painting program, and InDesign is a design text editor— all three are pretty much compatible and several of their tools perform the same functions. Some examples are the Type tool, the Pen tool, the Eyedropper tool, the Pencil tool, etc. However the main one today I would like to feature is the Pen tool.
The Pen tool is a tool that is typically something that a designer either loves or hates. I personally have a love hate relationship with it. And is an interesting feature, because it allows you to create your own shapes, vector images, and allows you to easily trace images. But you can also create text boxes with it as well.
Today’s tutorial though will cover the basics of the Pen tool, which is universally applicable to Illustrator, Photoshop, InDesign and After Effects. Since I have no experience with Adobe After Effects, I suggest going to this Adobe TV link for more information. However, if you would like to find out more about the other programs continue reading below. I will be showing the information in this tutorial through Adobe Illustrator, everything I will be doing is applicable in Photoshop and InDesign.
THE BASICS
The Pen Tool has several settings that help create shapes and effects. If you’ve never used the Pen Tool before, or are completely new to the Adobe Suite this is what it looks like in Adobe Illustrator:
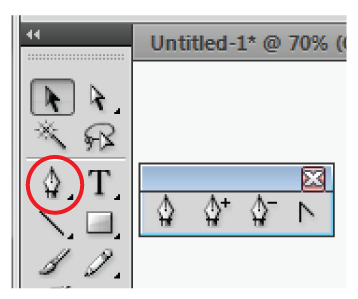
The Pen Tool looks pretty much the same in Photoshop and InDesign, with the same features, just located in different places.
To use the Pen Tool just click on the pen icon in any program, and then just click on a blank canvas to begin designing your shape. I’ll go into more detail below about how to use the tool.
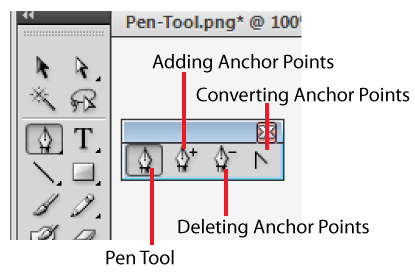
But the Pen Tool also has some subsidiary features, see the little box next to the Tool Panel, above. Those are all sub options that can be used to create designs. Illustrated below is what each are called, but here is a list of the options: Pen Tool, Adding Anchor Points, Deleting Anchor Points, and Converting Anchor Points (this in InDesign is Convert Direction Point Tool).
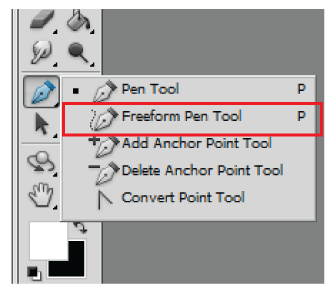
Photoshop also has a Freeform Pen Tool, show below, however I will not be going into that tool specifically in this tutorial. For those that know or don’t know Photoshop it is like the Lasso tool which allows you to free hand your selection of an object.
These tools will be explained at length once you learn how to create a shape.
CREATING A SHAPE
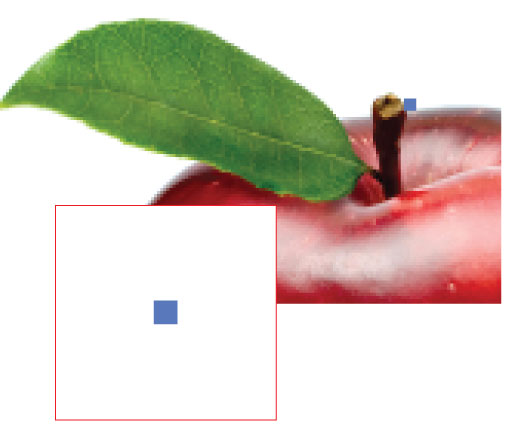
The basic tool you want to use of course is the Pen Tool to create your shape. Let’s trace an apple. To do so open up a blank canvas in one of the programs, and paste (Ctrl + V) or place (File > Place) in an apple photo.
Select the Pen Tool. And click once at the point where you would like to start the shape, you should get a blue dot like the one below, that dot is the beginning for your shape.
You then can begin clicking and adding additional points. Make sure that you have a fill color I decided to just make one shape of an apple like a shadow, so I chose red. Below is my beginning of out lining the stem.

Now the little trickier part getting into the curves of the apple and leaves. Now you make a point like you did before, but place the point where you want to curve the line to develop the shape of the leaf. Now do not let go, a black arrow will appear with two lines coming from the point you made. Drag that black arrow until your line is following the curve of the leaf, you can then let go.
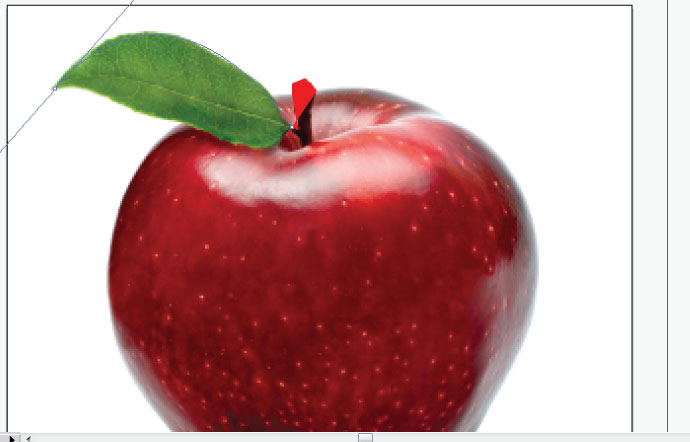

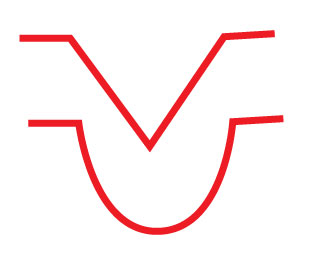
To create the rest of the apple you the can use a combination of curved and straight lines, it results in an image like this.

Now that apple is a little messed up isn’t it? Here’s the original:

It looks like the original, but distorted, why? Because you need to convert your anchor points, which is simple. And is shown below, in the next part of the tutorial.
But for now this is what the apple should look like after you convert your anchor points:

CONVERTING ANCHOR POINTS
NOTE: In InDesign this feature is called Convert Direction Point Tool.
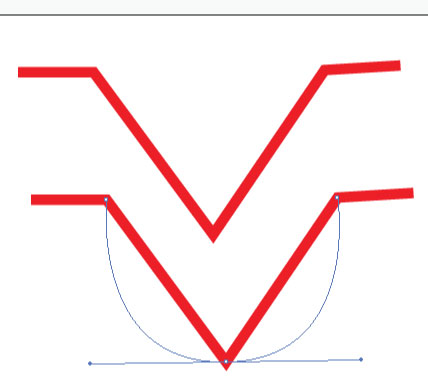
So while your designing you might notice that your curved points assume a certain curve every time, or begin to get ridge. To get rid of this you use the convert anchor points tool. Located as a sub option of the pen tool this takes a jagged line and makes it into a smooth curved one. Like this:
To accomplish this take the convert point tool and click on the bottom point of the jagged line. Then drag either to the right or left, until the line becomes the correct curve for your purposes. Here’s a screen shot of me doing it.
It is also built into the pen tool so that if you click on a point after you have already created the point, that point becomes fresh with no preset curves for the next portion of your design. You can then go ahead and keep creating! (This is what I did with the apple so that none of the preset curves affected the other ones, like it did with bad one.)
ADDING/DELETING ANCHOR POINTS
Anchor Points can be fickle, and the adding / deleting anchor points tools are helpful. Remember their are also other ones also available as subsidiaries to the pen tool.
To use either just select the tool from the tool panel. With the delete tool you just click on a point in the image that you would like remove, and it’s gone. For instance I removed a point from the apple image and this is what happened:

And then I was able to add it back in with the adding tool, resulting in the apple looking normal again (below). To add the point back in just click on a portion of the already developed line and then adjusted to where it needs to be.

There is a lot more things you can do with the pen tool. And I will be exploring one of those options, creating custom text boxes, in my next post, coming soon! But for right now here are some helpful videos and tutorial sites:
LRD Factory Pen Tool Video (Below):
lamab2050
Wow! You have covered every small detail and explained in a wonderful way. Personally, I feel the same way you do about the pen tool. Its really a neat tool to play, but sometime it become pain “Love or Hates”. Anyway, this is a god gifted tool for those who like to design their own vector shapes and images. Great work!
designadobe
Thanks so much Bishwa!