

This post was originally from designadobe.wordpress.com, a website created for a basics to WordPress and Joomla course at Chestnut Hill College, PA.
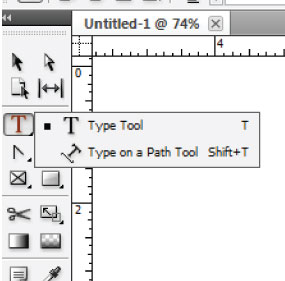
If you read the post on Using the Pen Tool, you might have learned that along with the Pen Tool − which allows users to create their own vector shapes − there are several other interchangeable tools that exist for the three main Adobe programs (Illustrator, Photoshop, and InDesign). Today though I would like to show you how the Pen Tool and the Type Tool, both interchangeable can be combined in the three programs to create a custom text box.
NOTE: Most of this tutorial will be done within Illustrator unless noted.
CREATING THE SHAPE
To create your custom text box you must first create either a shape or line. With the Type Tool alone you can only truly create either a rectangular or lined text box. You can use the typical rectangle tool, rounded rectangle tool, ellipse tool, polygon tool, star tool, etc. Within each program these options will vary, however the ones shown below are for Illustrator.
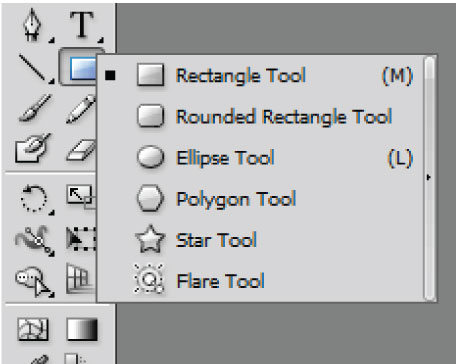
To create the shape in any of the programs just select the shape you would like, then click and drag to create it on the canvas of the file.
The Pen Tool can also be utilized to create custom shaped text boxes. Please refer back to my tutorial on using the Pen Tool for a more details, you can find it here!
If you’ve created a shape, then we are ready to add text!
ADDING TEXT
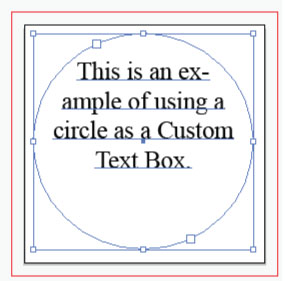
To add text to just the shapes within any of the programs, just select the shape and then the Type Tool. Place the cursor over the text box’s outline and then click. You should then be able to type within the shape.
Here is an example using a circle:
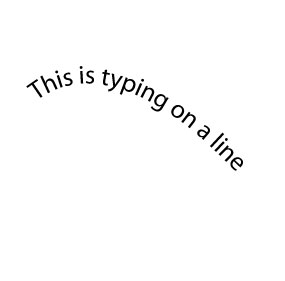
You can also add text to a line you create with the pen tool, see the tutorial here for more information. (NOTE: IN INDESIGN YOU USE THE TYPE ON A PATH TOOL.) Just approach the line like the shape, select the line, then the type tool, then click on it and you can then type. Here is an example:
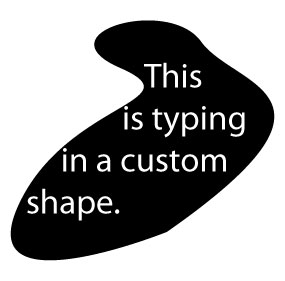
And you can also fill a custom shape; you approach it the same way as the regular shape and the line. Just use the pen tool to create it. Here is an example:
Adding text to these shapes does vary with options and abilities within each program check out the sections below for more options other than just using the generic type tool.
INDESIGN’S ADDITIONAL TYPE TOOL
InDesign offers one additional type tool, the Type on a Path Tool (above). It gives you the same effect as typing on a line, and is executed the same way just click and type.
PHOTOSHOP TYPE TOOLS
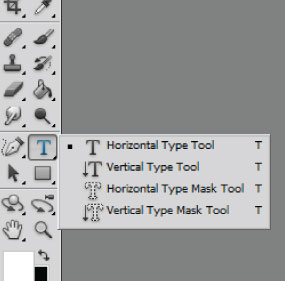
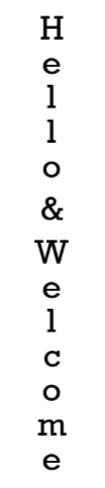
Along with the regular Type Tool also known as the Horizontal Type Tool, Photoshop offers the Vertical Type Tool which allows you to write vertically on the page, no enter spaces required. Just create your shape/line select this tool and you’ll be typing downward instead of horizontal (an example is to the right).
Along with the vertical text tool and horizontal text tool Photoshop also give users the option to create a type mask. The type mask can be used to cut the letters out of a picture or to make the letters use a certain pattern. It is basically a clipping mask (or cut out) of type. For a tutorial on how to use this tool click here! Here is an example I created using the type mask:

ILLUSTRATOR TYPE TOOLS
Illustrator has many different options of the type tool, six in all.
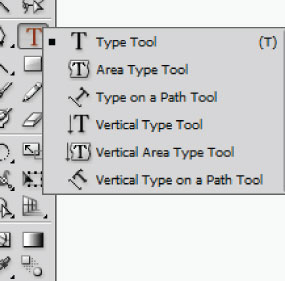
The first option is the Type Tool, which I showed you how to use before in the beginning of this tutorial. The second is the Area Type Tool; you can use this tool like the regular type tool and click on a shape to add text to it. This allows you to fill the shape with text, like shown above. The Type on a Path Tool allows you to type on a custom path/line; this is the same as InDesign’s Type on a Path Tool explained above. You just click on the path once you create it and type. The Vertical Type Tool like in Photoshop allows you to type vertically. And the Vertical Area Type Tool allows you to vertically fill a shape with text. While the Vertical Type on a Path Tool types vertically on any path. All of these tools are pretty much self explanatory, and take after one another, basically just click on the path and start typing.
I hope this tutorial was helpful! Next time I will be focusing on how to format text.
If you are look for help on how to use the type tool here are some helpful links: